StatCounter

Thursday, August 23, 2012

Fall Home Classes


Nothing quite like Vermont in September/October! I hope you can join us for a home class. Click on the links to read more about each class. 
Sept 21-24 The Beauty of Tools


         October 5-8 PMC Sterling Hinges: Wearable Pieces and Objects         


Saturday, August 11, 2012

News Update: Tear Away is Back


Since the phthalates were removed from polymer clay in 2008 I've been testing tear away with different brands and combinations of clay colors.  My stash of the original Sculpey III, which works beautifully for this process, is ever diminishing as I use it and share it with my classes.  As the hoard dwindles, I become more aggressive with my testing.  When I hear a rumor that a particular clay brand works, I try it.  Until now, nothing has yielded anything like the depth of relief I get in the tear away texture I make with the old Sculpey III.  Until now. 

Since removing the phthalates, the makers of polymer clay may have added another ingredient to the formula, and that's now responsible for my recent success. I don't know what's changed but I do know, since the phthalates were removed in '08, there have been occasional "adjustments" made to the formulas, both because I have heard it and because the changes in the clays are hard to mistake.  But it really doesn't matter: The clays stopped working for tear away for a while, now they have begun working just fine and I am ecstatic.

Recently I started a new round of methodical testing on 4 brands of polymer clay: Fimo (Classic and Soft), new Sculpey III (made after '08), CraftSmart (Michael's brand), and Premo.  I tested these 4 against the standard; tear away texture made with pre 2008 Sculpey III. Here are my results.

If the best tear away texture I've ever made with Sculpey III is a 10, tear away made with Premo metallic clay (gold, blue pearl, etc.) is an 7.5.  Tear away made with half and half Premo Gold and White (or half and half Blue Pearl and White) is an 8.5.  That's really, really good news.  It means the process originally developed by Gwen Gibson, the process that I have worked so hard to perfect and make dependable over the last 15 years is not dead (as previously thought) but quite alive!

What's the difference?  It's in the relief.  By that I mean good tear away has a deep enough relief to make good texture.  Part of my testing process is texturing PMC with the tear away because I can't really judge the tear away result without looking at the texture it makes. 
Pre '08 Sculpey III (left) and  Premo Gold (right)
Premo White (left) and pre '08 Sculpey III (right)


So, if you've got old pre '08, Scupley III, use it for tear away.  It's the best.  But if you don't, the news is good: Premo is the best of the clays for tear away.  Start with half and half Gold and White.  White and Pearl Blue are another excellent combination.  The more metallic you use in your blend the smoother the surface of the clay on your texture.  It's smoother but it's also more shallow.  I prefer the rougher texture and deeper relief I get with more white in my blend.


Other colors may work (I haven't tested each and every color) but this is a good start.


The process, briefly..why it's so great, why it's unique and shy we want to keep it alive.

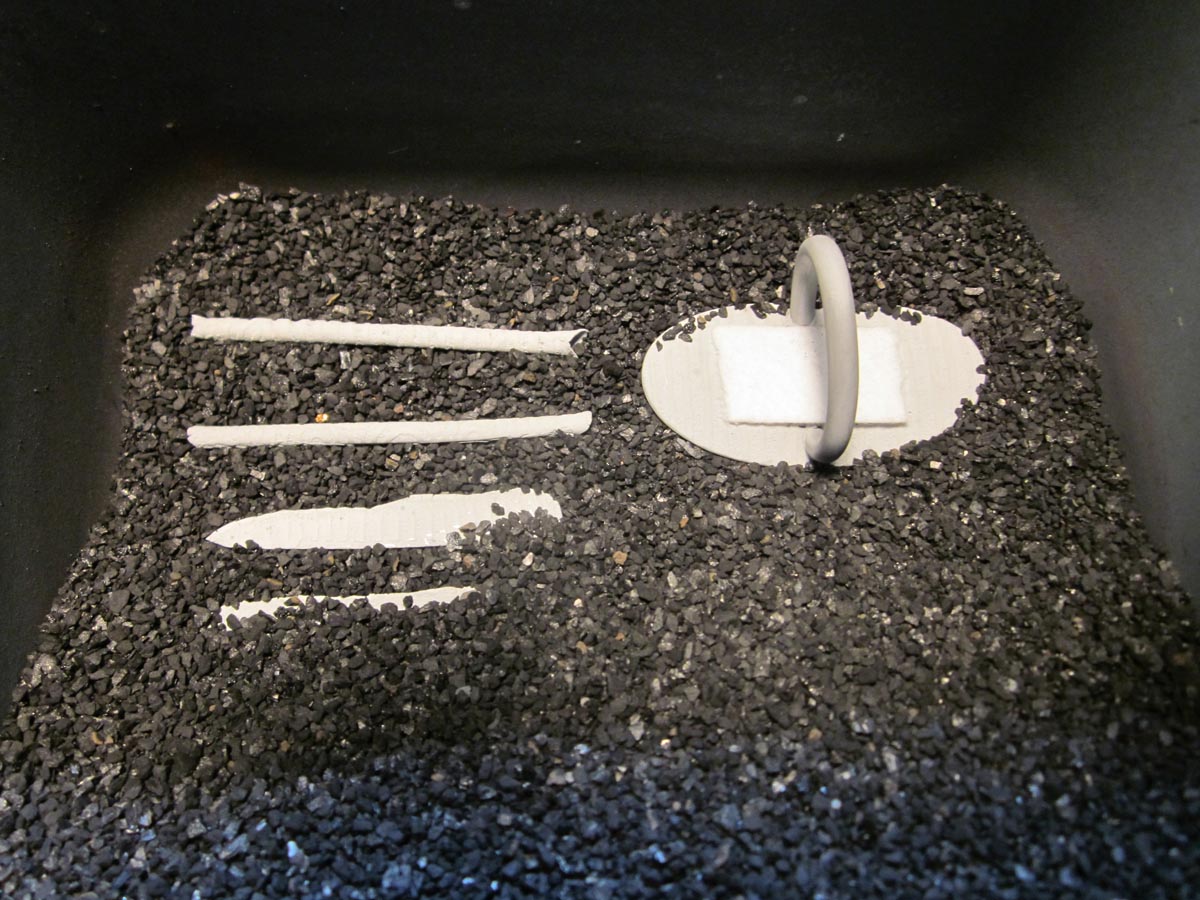
What is tear away?  "Tear away" refers to a process for making textures for use with PMC, polymer clay or roll printing metal.  Briefly, after making a collage of images and printing them on plain paper I make a copy on heavy glossy paper on a canon copier that uses a toner cartridge (an HP Laser printer will give a useable but shallower result), cut out a piece of the image, burnish it onto rolled out polymer clay, wait 40-60 minutes (during which time I burnish at least twice), then tear the paper away.  During the "rest" period the toner on the copy will have bonded to the polymer clay so that when I tear it away everywhere there was toner there is a fine layer of polymer stuck to it creating a relief.  Once this paper is baked in an 275F oven for 20 minutes it is a wonderful texturing tool.  It's virtue over other texturing methods is that it's low relief (so I'm able to use less PMC), it's relatively quick and reflects my own esthetic because I'm either making drawings or cutting and collaging images.  It also has a particular quality to it; as a result of the tearing the surface has a rough-hewn quality that can't really be achieved through other means.  The pictures below show the depth of relief that can be achieved with the tear-away technique.
Lentil textured with tear-away (Polymer side)
Lentil textured with tear-away (PMC side)  Photos by D. Foulke


For more specific directions on this technique see my book, "Keum-Boo on Silver" available in my Etsy Shop:


Thursday, May 10, 2012

Designing in PMC Sterling

The makers of PMC - Mitsubishi Materials, say that PMC Sterling shrinks 15-20%. As part of the process of releasing a new material their R&D department does exhaustive research and that research yielded this number.  So far, my calculations of my non-laboratory research tell me my flat PMC Sterling pieces shrink 15%.  My rings, for which I use size as the unit of measure, shrink 3 sizes if they are band rings and quite a bit less if they are washers (1 to 2 sizes from dry to fired).
I believe the reason they say 15-20% is because there are so many factors affecting shrinkage: size, thickness, firing conditions, kiln, etc.
I think if you want precisely sized rings, the best course is the one Hattie Sanderson is taking.  She is using her Hattie’s Patties (fire in place ring inserts) to enforce size and also making stainless steel mesh ‘cages’ to fire the rings in so that the carbon doesn’t get between the ring and the insert causing distortion.  Interestingly, a ring in a stainless steel cage is actually surrounded by air (in the cage) and then the cage is surrounded by 8-10mm of carbon.  You can read about Hattie’s method HERE.
Rings made in PMC Sterling can be up-sized on a mandrel, as well.
What I like best about PMC Sterling doesn't have to do with its longer working time or its greater strength. What I most appreciate about it is its influence on my thinking, on my direction;  where it's pushed me and how I'm now thinking about these materials, these metal clays.
diamond ring
I can certainly describe the corners the Sterling has pushed me around; I can describe how wanting to test its strength led me to openwork, or wanting to assess just how much better it is to carve led me to develop new carving motifs.  I can describe my realization that 925 clay, when dry, is a little messier to sand than the fine silver clays and how that led to my using the scalpel more than I do with fine silver.  But there's also something about the nature of the dry 925 that lends itself to the scalpel's blade more readily than the fine silver; probably the same qualities that make it better for carving; greater elasticity, less chipping, more flexibility.
Sand paper is messier than whittling, so if I can whittle, I will.  But as it's turned out, the whittling has taken me in a new design direction, a direction about which I am excited.


These are a group of washer rings (no seam) cut with a long blade and a template that let me avoid the business of making a seam. The one on the top left is the start of the Diamond ring.  Once they are dry, I make a record of them with my copier.  
                                                                                
Then I annotate the ring images, both so I can remake a specific ring and to reinforce the shrinkage. 


These washer rings shrink less than the band rings.  Washer rings shrink approximately 1-2 sizes.  I don't know why, but I remember noting a similar phenomenon when I was testing BronzClay.
In the upper right corner is the Diamond Ring, whittled down with a scalpel, ready for setting the diamond.
The lower left is the start of the carved washer ring. 


Blisters and Firing Modifications
I have had one piece of PMC Sterling blister in the past year. Since then (3 months ago) I have slowed the ramp down in the atmosphere stage; I've done 6 firings at 500F per hour and now 6 more at 800F per hour to 1000F (hold for 30 min).  This is based on the theory that I may not have been burning the binder out sufficiently at the full ramp and that slowing the ramp down when air-firing may do so. 
After cooling, I transfer the pieces to a steel container and put them on 10mm of carbon, then I add more carbon until it is 10mm above the top of the piece.  I cover the steel container, put it into the kiln, on kiln feet so air can circulate, then fire full ramp to 1520F** and hold for 1 hour (or more if the piece is large or there is more than one piece).
I was able to sand and burnish the blisters away on the ring shank even though it was very badly blistered.  The blisters were not empty inside; they were more like bulges so they could be pressed/abraded down. It's strong and fully sintered and looks fine.

**KIlns vary!  It's important to know your kiln and how accurate the temperature is.  Check the temperature, and do a few test pieces before you invest lots of time in a piece.


Shrinkage: This is an openwork ring, dry and ready to fire. It's size 11.5.  When fresh, this ring was 12.5.  Freshly fired the ring is size 9.5.


I have made many of these rings and have gotten this same shrinkage each time: 3 sizes from fresh to fired, 2 sizes from dry to fired.
It's important to note that because of the construction techniques I use, the dry to fired shrinkage (2 sizes) is the more accurate number.  


These 2 open work rings have 24k gold keum-boo on the inside.


A bit more on shrinkage:
Flat pieces made of PMC Sterling are shrinking 15% consistently. This stitched ring was fired as a flat strip, then bent around a mandrel and stitched.                     


This picture describes how I checked the shrinkage. The graph paper shape is the template I used to cut the ring out so it's the size of the ring in fresh clay (and 4 cards thick).  The similar shape with the purple lines running across it is the fired piece enlarged by 118% (enlarging by 118% is equal to 15% shrinkage).  These two shapes being the same size proves a shrinkage rate of 15%. 
[Here's why: 15% from 100% equals 85%, to find the size you need to end up at 100, you divide 100 by 85 and get 118%.]


These small disks were made by my apprentice, Erin M. Harris.  They were rolled at two cards.  She made a copy of the circles dry, ready to fire (the group on the right).  The disks on the left are fired and enlarged by 118%.  The two groups are equal in size proving that these small disks also shrank 15%.

The official shrinkage rate is 15-20% and as I've said, there has been some variation in my results.  However, the shrinkage seems to be consistent by type: Washer rings are consistent with other washer rings, but vary from band rings, which are consistent among themselves.

Hattie Sanderson and Janet Alexander have both done a great deal of research on PMC Sterling in the past year.  Janet keeps a blog HERE.

In this series of rings I am investigating shrinkage.  I am also using a group of techniques that work with, rather than against, the natural tendency of metal clay to dry out; developing a natural edge, tearing, chipping and just turning the other cheek while it dries.

2 Tips for working with carbon:


 Pouring the carbon from 1 container to another, in front of a window fan (blowing out), will keep your carbon dust free. I do this after every 2nd or 3rd firing. 


6" plastic ruler is a great way to keep track of how much carbon you've poured: Pour 10mm of carbon as a base, place your piece on that and continue pouring the carbon until it's 10mm above your piece.
 
I have used kiln paper to protect delicate openwork designs from carbon so that carbon granules don't wedge into open work and distort it. 

Wednesday, April 11, 2012

July Home Classes are up!

If you are interested in a class, please let me know and I'll hold a spot. If you've already emailed me, your spot is saved! You can read more about the classes HERE.

July 14-17 Polymer Clay Bracelets with PMC Adornments
July 21-24 Polymer Clay Bracelets with PMC Adornments (first class filled so I added a 2nd class)
July 28-31 Making Rings in PMC Sterling

Tuesday, February 28, 2012

PMC Sterling Rings

Pictured here are a group of rings I'm working on for my upcoming CraftCast webinar on April 4th and for my pre-PMC Conference class. Mostly I'm enjoying the process of learning about another new material, its pros and cons, and how to best integrate it into my studio.
About the rings: They are all about the same size as this makes it easier for me to keep track of the shrinkage and determine if it's regular.
They are all 'open' because I haven't wanted to do this in fine silver clay and PMC Sterling seems a perfect opportunity. They are all carved because it's simply one of my favorite activities and PMC Sterling does it so well. I have discovered something: The drier the clay, the more it's likely to chip when carved. If you're carving PMC Sterling and it chips try giving it a "steam bath". By this I mean, put it in a hydrating environment briefly then carve. This might be 10 minutes but it depends on where you live, the thickness of the piece, etc. Don't overdo the hydration or it will get floppy and while this is good if you want to re-form the piece, it may make it too fragile to carve.
Once I form, refine and carve the rings I begin trying different solutions. I have a lifetime of pebbles and pieces, not to mention those I make, to house on the rivet wire that joins the two sides of the ring band.
I love working this way: On one side of my desk I have a pile of treasures I've collected or made over the years: rocks, beads, baubles and bits. On the other side I am making and carving ring shanks, the solutions for the orphans in the other pile, the 'bits' pile. The fun is in mixing and matching them up then sorting out the inevitable problems that occur when joining disparite materials.
This hollow form "flip ring" looks straightforward but actually depends on a tube inside the hollow form through which the rivet wire will go. Without the tube, the rivet wire would simply bend inside the hollow form. Fortunately the PMC Sterling's longer open working time serves it well for use with the extruder and the tube was easy to make.
Later this month I'll be posting examples of other rings that will be featured on the Craftcast webinar.