StatCounter

Thursday, December 8, 2011

More on PMC Sterling: Keum-Boo and Soldering

I wanted to try more keum-boo on the new PMC Sterling and since I’m down to my last bit of fresh clay, I thought I’d rehydrate some dry clay.

I had a rolled out rectangle of dry PMC Sterling that I’d practiced carving on with gouges. It had been sitting in the open, on a shelf, in my studio since the summer. Using passive rehydration, I spritzed it with distilled water, then stashed it under cover in my super re-hydrator (this crazy plastic gizmo that transports my cupcakes from the super market to my kitchen without mashing the icing). It’s small, airtight, and has a perfect spot to tuck a wet sponge in securely, and it’s free (all I have to do is buy the cupcake).

I call the technique “passive rehydration” because I don’t do anything to the clay I’m rehydrating except put it in an environment in which it can’t help but soak up moisture. If I’m in a hurry I might spritz it once or twice with water but that’s it. I just leave it alone until it’s the consistency of workable clay. If it goes too far, and gets mushy, I pop off the gizmo cover and let a little air intervene. I use this technique with all the clays, both for bringing dry clay back to fresh and for changing or re-forming shapes of dry clay.

(My desktop and re-hydrator)

Later that same day, when the clay had returned to a good working consistency, I made two disks, textured on the back, smooth on the front. After air drying, I polished the smooth sides with 600, then 1200 grit micron graded polishing paper and fired them surrounded by 10-15mm of carbon on all sides (1000F for 30 in air on a kiln shelf, then 1510 for 45 minutes in well used, and well proved, coal carbon). I use a stainless steel container with a lid.

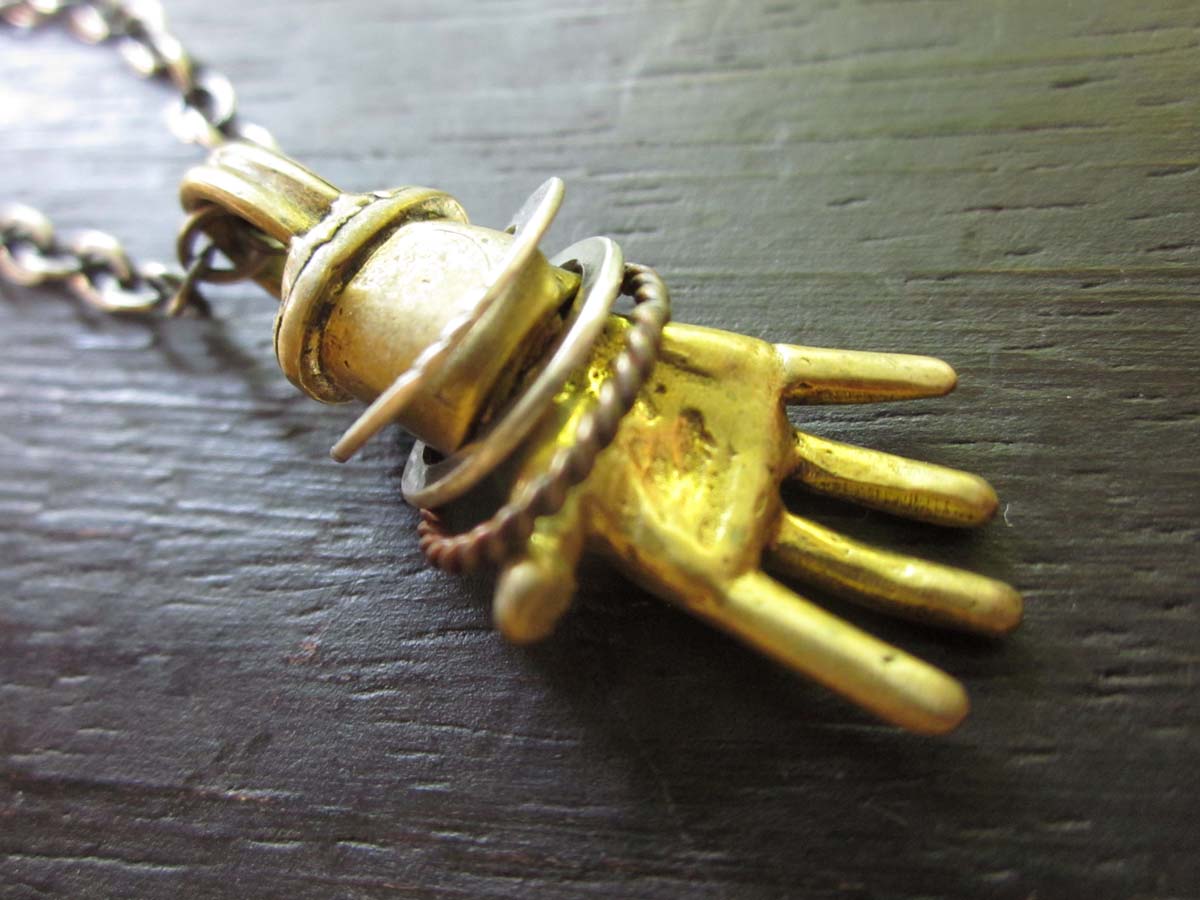
(Two fired disks, after being domed slightly)

Keum-boo:

The disks were oxidized from taking them out of the carbon while hot but I’ve experimented enough with alloy silver metal clay to know that it will oxidize when heated and the gold foil will bond regardless; without my having depletion gilded the sterling. Nor does there seem to be much point in cleaning off the oxidation since the Sterling begins turning colors the instant it’s placed on the Ultra-Lite.

I burnished on two layers of 24k gold foil in preparation for the likelihood of some degree of “fade” (diffusion of the gold foil into the surface of the silver) during the sustained heat of soldering. Both layers bonded beautifully, no gaps or bubbles.

(The disk on the left has been brass brushed. The one on the right has not.)

I prepared the disks for soldering by filing the backs to clean metal. I also hammered (to increase surface area) and sanded the bent wires so they would lie flat against the disk backs.

I used medium solder and the soldering was uneventful, no different from soldering any other sterling.

However, even moving as quickly as I did, the gold foil developed some tiny bubbles during the soldering process. This is typical for keum-boo-ed sterling; it does tend to develop little bubbles when reheated. My solution was to flip the disk over as soon as the solder flowed and burnish down the bubbles while the metal was hot. This worked well and no gold came off during subsequent brass brushing.


Although I do plan on focusing on rings in the new PMC Sterling, I am also working on other high wear adornments that I think should be made from Sterling clay. Both the silver and the polymer on my bracelets need to be sturdy as they do get bumped around on a wrist.
Pictured here are a group of bracelet decorations I made last week in the new material. Interrupting the edge, as I’ve done on several of the “back to back” lentils is more appropriate in Sterling than fine silver since I’m weakening it with the cuts.

I can’t believe I’m working with Sterling PMC! It’s very exciting and now, as I write, the mail is delivering this same excitement to all of you waiting with bated…

I look forward to hearing your thoughts and seeing your ideas come to fruition.


Wednesday, November 30, 2011

Holiday Sale!

I'm having a SALE through Dec 15th! Select pieces are marked down 10% in my shop (under SALE), plus free Priority shipping on ANY purchase using coupon code: HOLIDAYFREESHIPPING
Just added this new pair of Twig Earrings to my shop. I've also added more earrings and several rings.

'Tis the season!

Wednesday, November 16, 2011

Testing the new PMC Sterling

I am captivated by the new Sterling PMC; having worked with it since the spring, I want to write a little bit about my experience.

I’m thrilled to be able to say it’s very strong when fired and lovely to work with when fresh. Like PMC Pro, it has a longer open working time than other versions of PMC. When dry, it’s generally similar to dry PMC3 or Plus except it's much easier to carve with gouges. It carves smoothly without chipping, like PMC Pro and like BronzClay.

Sterling PMC needs to be fired in 2 stages, a brief air fire and then a carbon firing. This is more complicated than the needs of fine silver PMC and at first it loomed large as a drawback for me. As I began to appreciate its strong points, however, the double firing became a lot more tolerable.

What follows is a brief story of my experience with the material to date. My plan for the winter is to explore more open work, more ring designs, hollow forms, and larger kiln loads. To be able to rely on metal clay for the kind of strength required by this type of work is thrilling to me. I look forward to developing ideas that I have been reluctant to do in PMC and also reluctant to fabricate in sterling metal.

Five Rings in Sterling PMC:

Please note: The times and temperatures I used in the firings described here were part of my testing process. The times and temperatures described in the PMC Sterling insert are our up-to-date recommendations for firing.

All of these pieces were fired at 1000F for 30 minutes then 1510F for 45 minutes, in well used coal carbon. All were fired with approx. 10mm of carbon on all sides (ie not much carbon).

The first (corset ring, 4 cards thick) was fired flat as a strip then keum-boo-ed on the inside surface with two layers of 24k foil (the gold adhered nicely, although a few tiny spots resisted the bonding). Then the strip was formed into a ring around a mandrel, laced with wire, patinated and polished.

This bee ring was fired face down and in spite of the band being thin, it did not warp or slump. The bee is quite thin, but strong and unmovable with my fingers.

The bee was more challenging to keum-boo than the corset ring, I think because the corset has no texture on the inside.

There was some staining on the surface of the bee that seemed to repel the gold. I tried cleaning it off but I couldn’t get the gold to adhere to some spots. This type of staining, after the carbon firing, has not happened again. The fact that the gold adheres as well as it does to the sterling without depletion gilding or any other preparation is still a mystery.


I made the snake to test a thick piece and to try carving the sterling clay. It is superb to carve.

I made this ring to test strength in open work pieces and also attachments like the little balls, which I attached with slip. It did well on both counts. The ring is thin but strong and the balls are not coming off.

I fired this ring face down in the carbon with a piece of kiln paper under the cutouts and on top of the cutouts so the carbon granules would not jam into the cut out areas. This worked perfectly well although the ring itself is too thin to be practical. In spite of it being thin, it did not slump. I fired this ring with 4 other pieces; two hollow tubes and two flat pieces. All fired to strong metal.

(dry ring)

(ready for firing)

This cylinder is the first hollow form I’ve made in sterling PMC. The caps on the top and bottom are donuts (rather than solid clay). I did this to conserve material. The cylinder did not distort in the firing; next time I will make it thinner walled and lighter weight.

I’m experimenting with firing more pieces in the carbon. The cylinder was fired with 4 other small pieces: 1000F in air for 30 minutes then 1510F in coal carbon for 45 minutes. All pieces are strong and well sintered.

I'll write more as I experiment more and experiment I will. As with the BronzClay, and then the PRO, I look forward to discoveries I'll make bumping along in territory that is not entirely known. As with everything to do with metal clay the pleasure is in the pioneering (well, at least most of the time).

I look forward to hearing about your discoveries, as well!

I'm teaching a PMC Sterling ring class before the PMC Conference this summer. The class is full but please let me know if you'd like to be on my mailing list for upcoming PMC Sterling classes.


Wednesday, September 28, 2011

We have a Winner!

Thanks so much to all who purchased raffle tickets for my Helping Hand Pendant. I'm so pleased to announce that we raised $1940 and I'm going to make it an even $2000 and send it to the Craft Emergency Relief Fund [CERF]). All the proceeds will directly benefit Vermont craftspeople hurt by Hurricane Irene.
And the winner is...............Terry Palmer of Lafayette, LA.

Congratulations Terry and to everyone for giving a helping hand!

Monday, September 12, 2011

Helping Hand Pendant Raffle to Benefit Vermont Flood Victims

Hurricane Irene's flood waters devastated vermont on August 28th. My own town in Central Vermont was particularly hard hit. My family's farm is high on a hill and we were not effected but many of our neighbors lost everything. I'm raffling off this "Helping Hand" pendant hoping to help in a small way.
This sculpted brass hand is very gestural. It features 2 hammered sterling bracelets and 1 made of twisted red brass. It hangs on an 18" sterling chain with a handmade sterling s-hook. The hand is 1 3/8" long.
The pendant's value is $150.
All proceeds will directly benefit Vermont craftspeople hurt by Hurricane Irene (through the Craft Emergency Relief Fund [CERF]).
First pay using the Paypal button below. As soon as you do, your name will be put in a hat.The winner will be drawn on September 28th (that date will mark 1 month since Irene). The winner's name will be announced on my blog and the piece will be mailed that day.
You can choose 1 ticket for $10 or 3 tickets for $25


Thursday, August 11, 2011

Branching Out

I began collecting sticks when I first started walking in the woods, many decades ago here in Vermont. Piles of them wait, in all their twisted fancy, in boxes in my wood shed, precariously poised between craft and kindling.
But many perfect little exemplars have found places among the jewels and junk collected on my countertops; on their own, adorning other found objects, or sprouting bits and bobs of metal and metal clay.
The little stick that found its way onto the Treasures Bracelet was collected years ago and patiently stored against the day it would meet opportunity in my work. It was there, beckoning, when I was working to finish the Treasures Bracelet class sample last spring. At first just another charm, later I saw it as one of several alternative materials that would enable me to use less precious silver.
I set the twig idea aside to work on the toggle ideas for that class knowing that between the spring classes in June and the upcoming fall classes in September, I'd have a chance to go back to the twigs. But practicality aside, the twig, and the idea of using twigs embellished with all kinds of things, became irrisistable.

Because I'm using liquid polymer, which tends to drool a bit in the oven, they can't bake flat, so I've made this wire tree for baking.
Although they are lovely, gestural expressions by themselves, just as I find them, I cannot resist the urge to alter what I find: I've scraped, painted, gilded, gouged, carved, capped, beaded, and bound the twigs. I've added silver, gold, paint, paper, thread, and polymer clay. The twigs are a starting point, each pointing in a slightly different direction. Imposing my creative process on them doesn't make them any less essentially wood, wild or twig. It doesn't make them less what they are, it just adds some of me into the mix while also providing the practical means to get them onto the body as adornments.


Tuesday, August 2, 2011

More Toggle Designs

I've been working on some new designs for my upcoming Treasures Bracelet Class.
This one is made by rolling fresh PMC onto a carved polymer texture plate. I like the way a small detail taken from the texture plate becomes a whole, more than the sum of it's parts.

This toggle is made by carving directly in the dry PMC. I rolled out clay to 5 cards, cut out my shapes, dried and lightly sanded them. I used a 1.5 mm U gauge (micro carving tool) to carve the design onto both sides (all the carving scraps are reconstituted). The toggle pieces were fired flat on a kiln shelf and curved on a ring mandrel after firing.


There are still some spots remaining in the Class!

Thursday, July 14, 2011

Wednesday, May 11, 2011

Gravity, Gravitas: The Weight of Silver

I'm not going to write about the high cost of silver because everyone is doing that and nobody really knows what's what and I certainly don't have a clue. But I would like to describe my personal response to this meteoric leap in cost.

First, I wrote students in my upcoming classes to say I wouldn't be selling PMC in my classes. Figuring out when to buy clay and how to price it is beyond what I want to do. Second, I sold my scrap silver and that made me feel A LOT better about the price of silver. I suffer no qualms of contradiction for celebrating the price I'm getting for my scrap on the one hand, and carping about the cost I'm paying for silver on the other.

But here's the real response I want to describe:
The cost of silver was worming its way into my studio life. It was inhibiting my work; there was a big green dollar sign hovering just under my desk light, over my desk whenever I sat down to work. It was off putting and fast becoming a serious deterrent to rolling out clay. Then I started thinking about it in a different way; as a call to action of sorts. After all, I do use other materials in addition to PMC; why not take this as a challenge and let the other materials do the heavy lifting? The silver is not diminished by being lessened. Rather, it's celebrated. Cherished.

For many years I've made this toggle clasp (Ouroboros, pictured below) out of carved solid snakes of PMC.

It's heavy, very heavy. It uses a lot of precious metal clay. So, last week I remade it out of polymer then embellished it with little bits of PMC.

As soon as I finished it I began to see other ways I could have accomplished the goal of using silver less automatically, and other toggles I could make. Now I have many ideas I intend to pursue, all of which serve the dual purpose of nourishing my creativity (I love a challenge) and saving my precious silver.

Above is a photo of polymer toggles in process.

Above shows a carved PMC toggle
ring and carved wood sticks that have been rubbed with paint and will be embellished with silver and fashioned into toggle bars.

Many years ago, when I first discovered these materials, adding metal to polymer was my starting point. I loved polymer clay but until I began mixing metal with it in the early nineties, it lacked something, for me anyway: it lacked gravity; it lacked gravitas.

A little PMC goes a long way to enhancing polymer. It adds weight, which in my opinion the polymer needs, it adds dynamism, it adds value. I love the way the combination looks and feels.
But there are so many other materials that are so enhanced by that dash of silver; wood, rusty metal and old tin, broom straw, etc.

Although I made these sample toggles for my upcoming Treasures Bracelet class, all of my upcoming classes incorporate polymer to some degree. Because silver prices are a concern to anyone likely to come to my classes, I expect these ideas will find an enthusiastic home among my students, and although I won't actually get into my studio to pursue these ideas myself until July, I will have the opportunity to talk about them with the creative crowd in my classroom.